This guide provides a complete walkthrough for creating a new project RFP and, if required, an Auction using the Local Tender template.
The template is specifically designed for local or country buyers managing negotiations for Food, Near-Food, or Non-Food articles.
Important: Projects must be created from the RFX module, and all articles must be defined and maintained under Demand Specification. This step is a mandatory prerequisite for awarding.
Prerequisites:
Before you begin, make sure you have:
Access to the eSourcing platform
➡ See how to request eSourcing accessRequired supplier details
➡ Learn how to onboard suppliers and grant them eSourcing accessGeneral Conditions (GC) documents
➡ View examples and drafts of GC documents
Step-by-Step Process
1. Create the Project
- From the Menu, navigate to:
Sourcing → Project Management → RFX → Project List - Click New to create a new project.
- Search and select the template Local Tender Template, then click Apply.
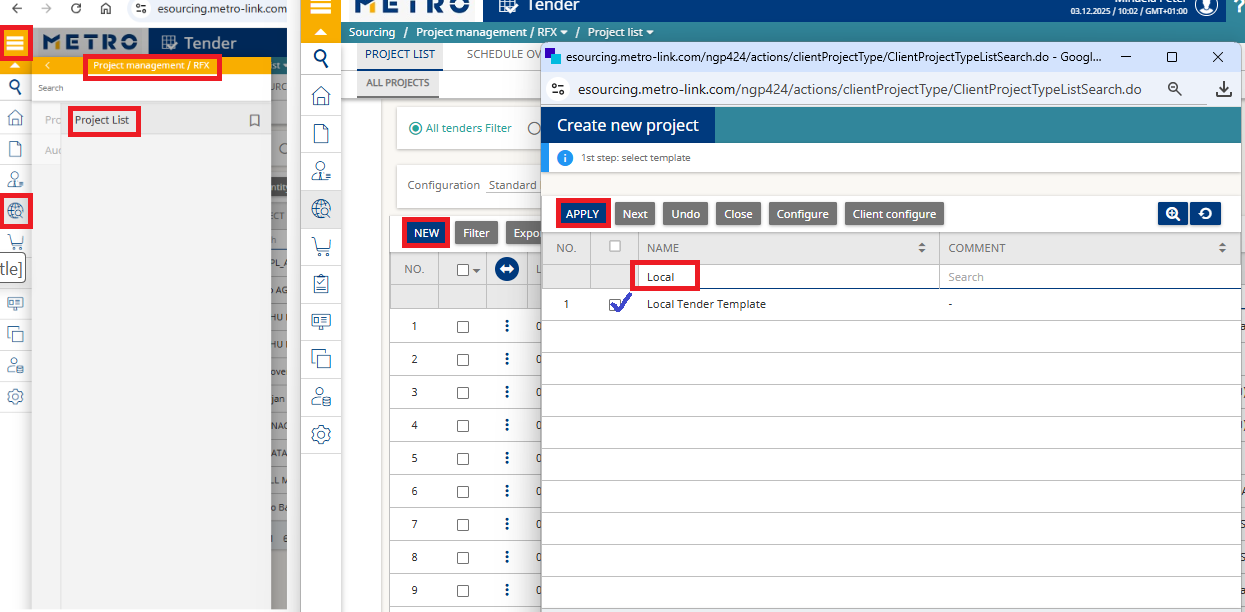
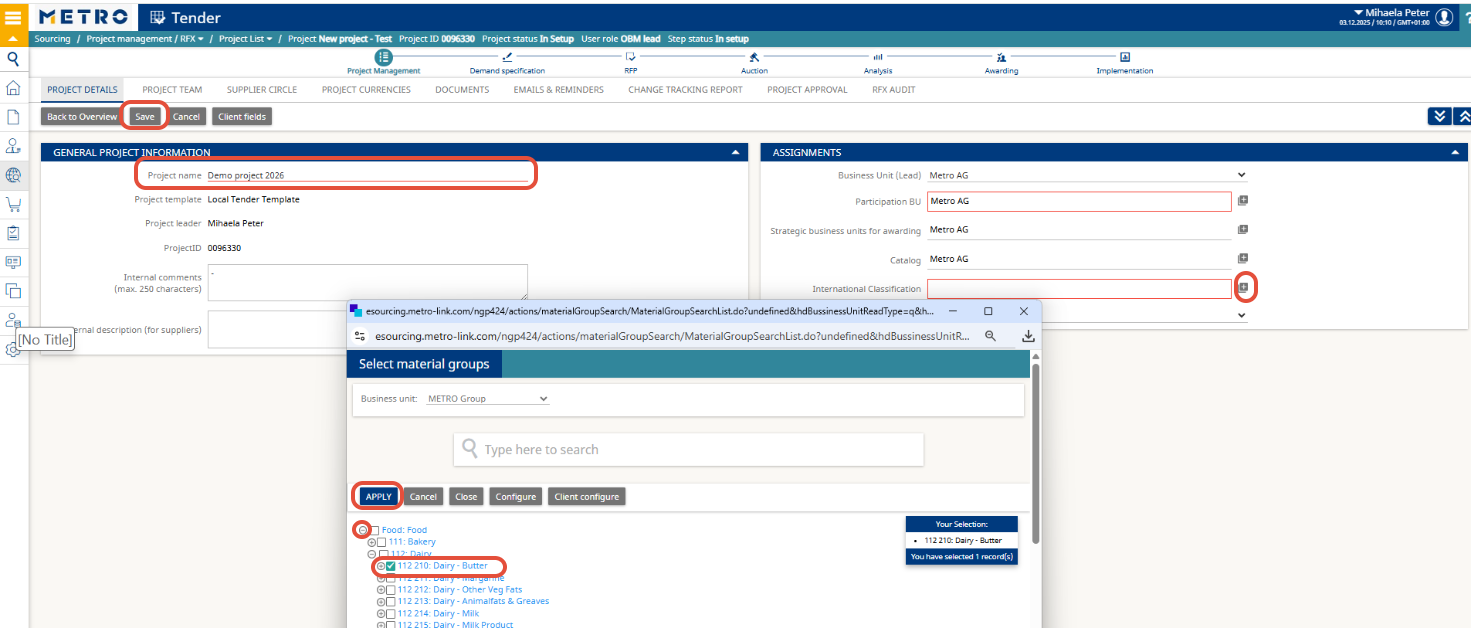
- Define the Project Name.
- Select the International Classification by clicking the “+” icon, then search and select the corresponding category.
- Click Apply to confirm and Save.
2. Create the Project Team
- Navigate to Project Team and click Add to invite colleagues from your country and internal users who need access to the project.
(Note: They must have an eSourcing account.)
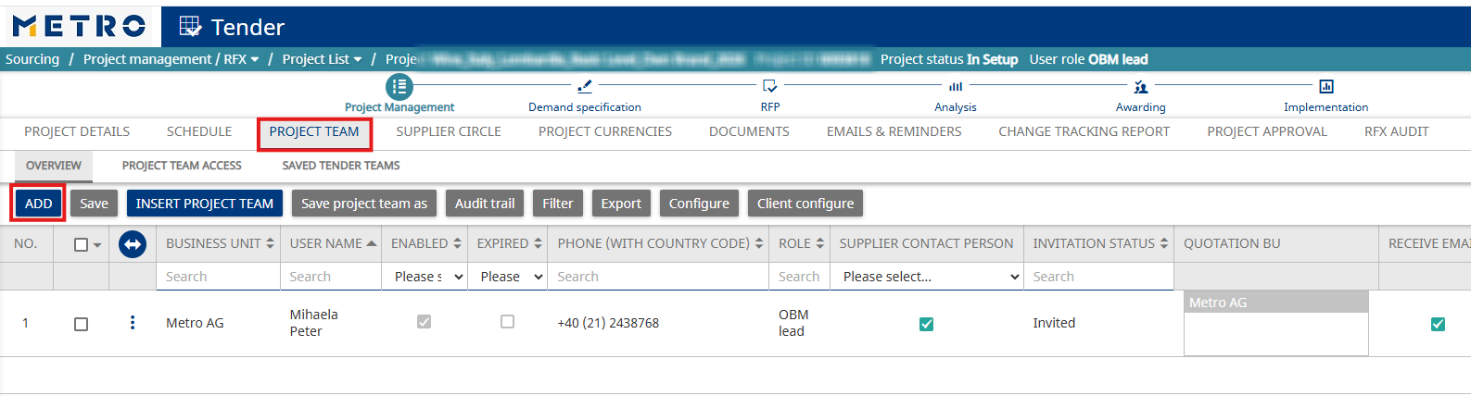
- Search for the user, select them, and click Add to Project Team.

- In the popup window, assign the appropriate Role and click Apply.
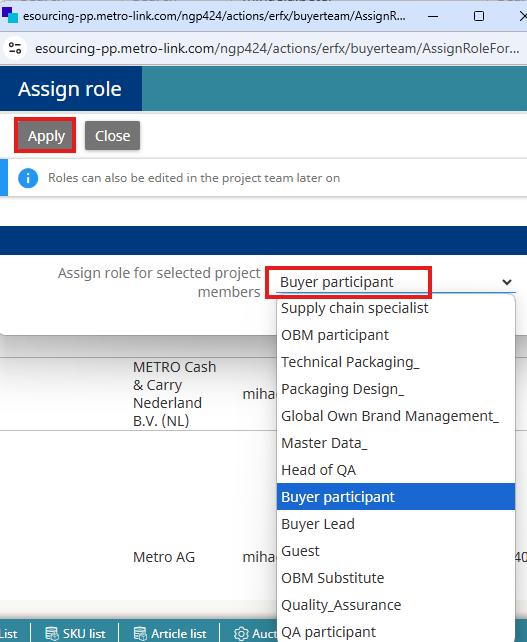
Common Roles:
- OBM Lead: You, the project leader who created the project.
- OBM Substitute: same rights as the project leader; assign to a colleague who can replace you.
- Guest: View-only access.
Click Back to Project Team to review invited users.
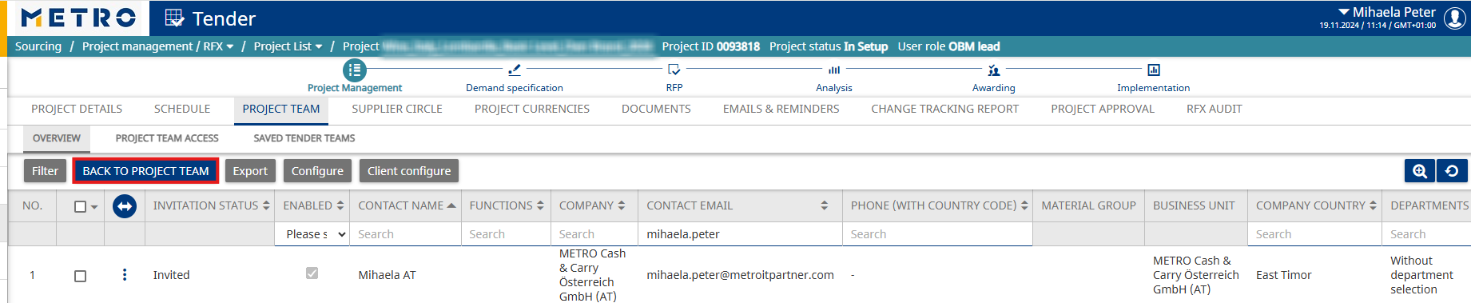
Important Notes:
- Roles can be changed anytime.
- Users can be invited anytime.
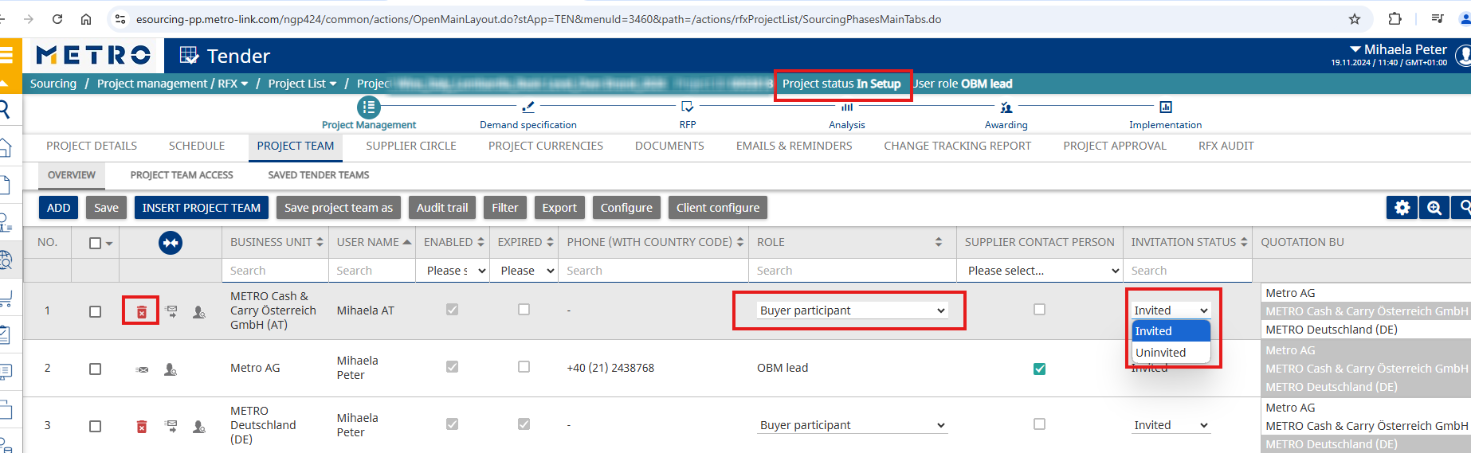
- Users can be deleted only if the project status is In Setup.
- If the project is no longer In Setup, set the invitation status to Uninvited to remove a user.
➡ See How to Save and Reuse Project and Supplier Teams in Sourcing
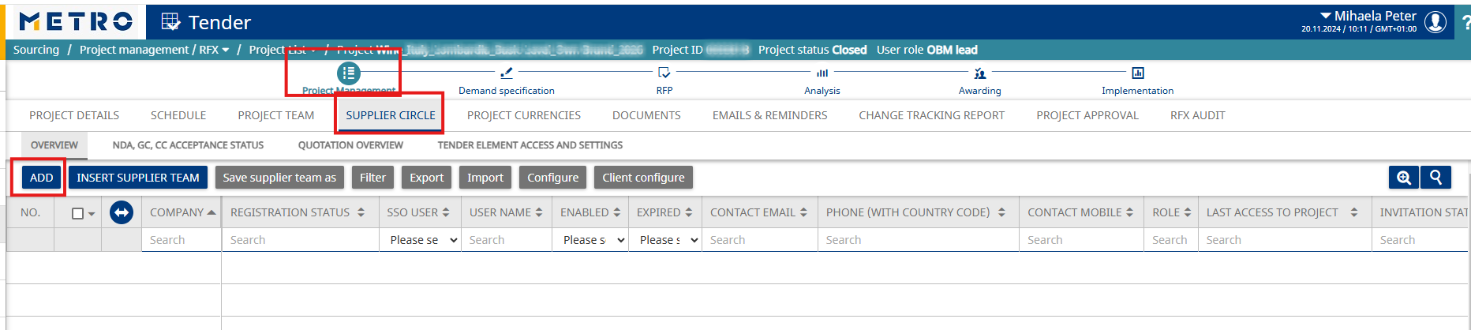
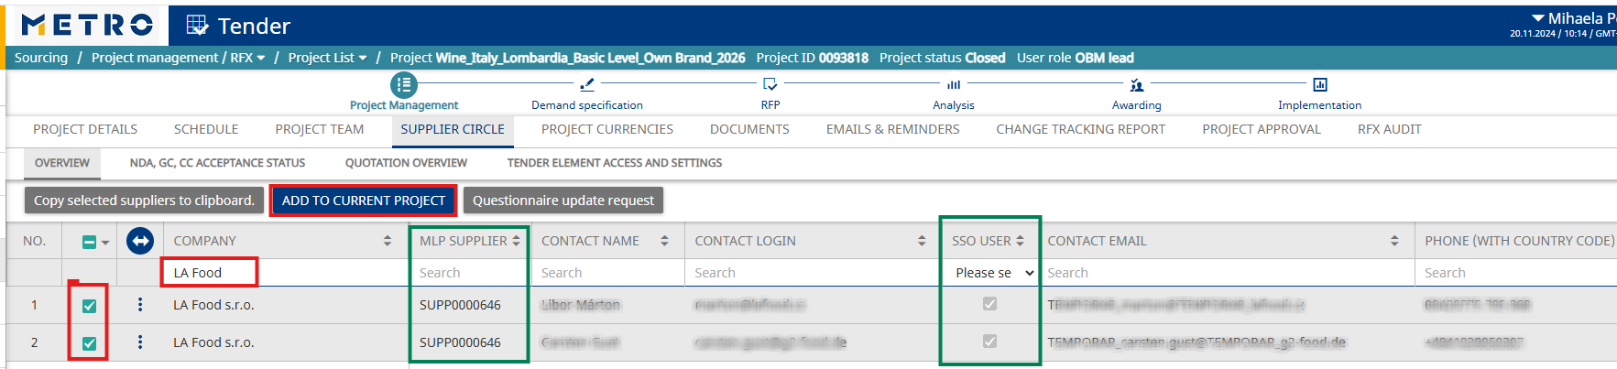
3. Invite Suppliers
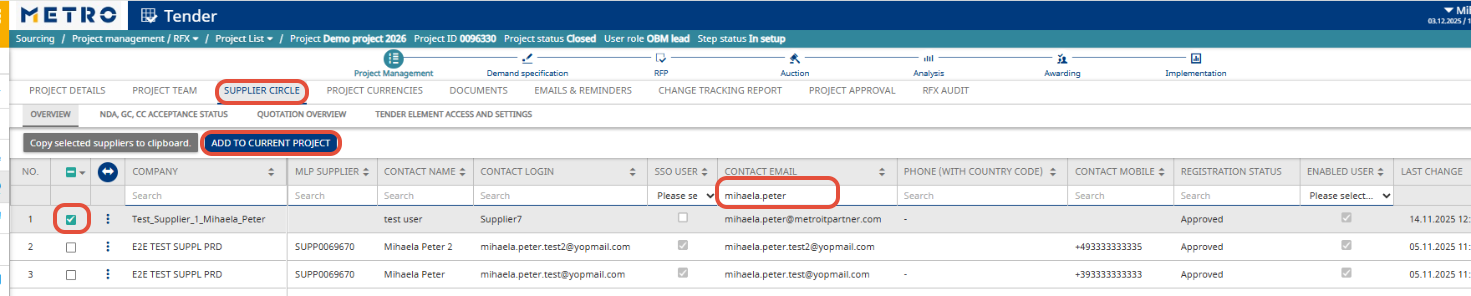
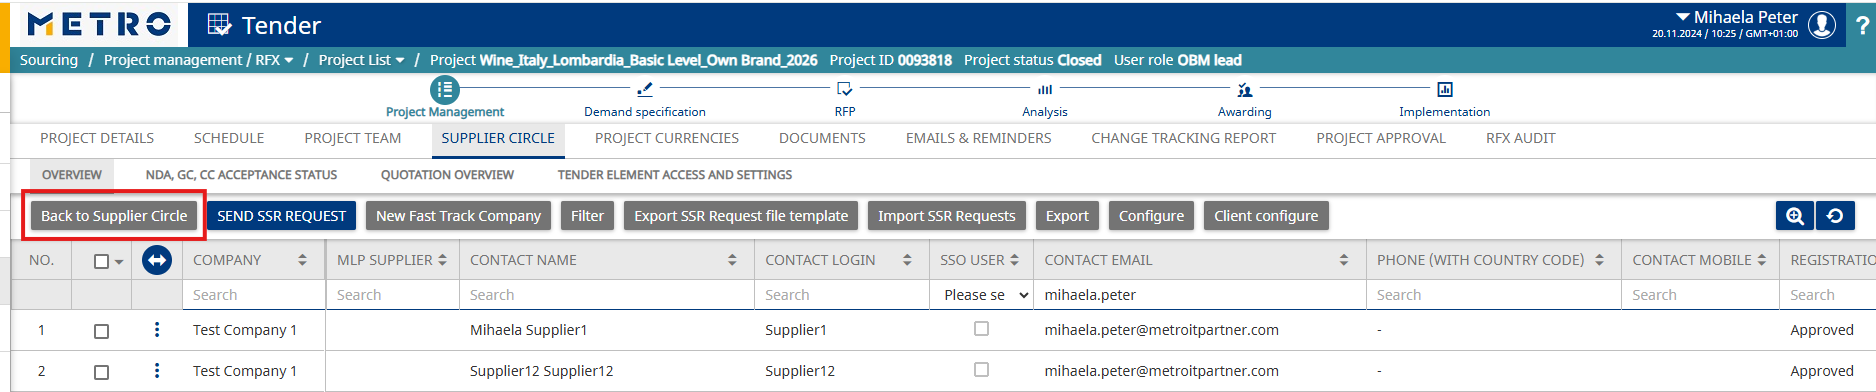
- Go to Supplier Circle and click Add.
- Search for the supplier (by company name, username, email, etc.), select them, and click Add to Current Project.
Onboarding Requirements:
- All invited suppliers must be onboarded via MLP.
- If the company is having an MLP Supplier ID, it is onboarded in Metro Link Plus
- If the user has an SSO flag, they have eSourcing access via Metro Link Plus.
➡ See How to remove a supplier from the project if needed.
4. Upload Documents
- Navigate to Documents and click Mass Upload to attach files for buyers and suppliers.
- Select files and wait for upload completion.
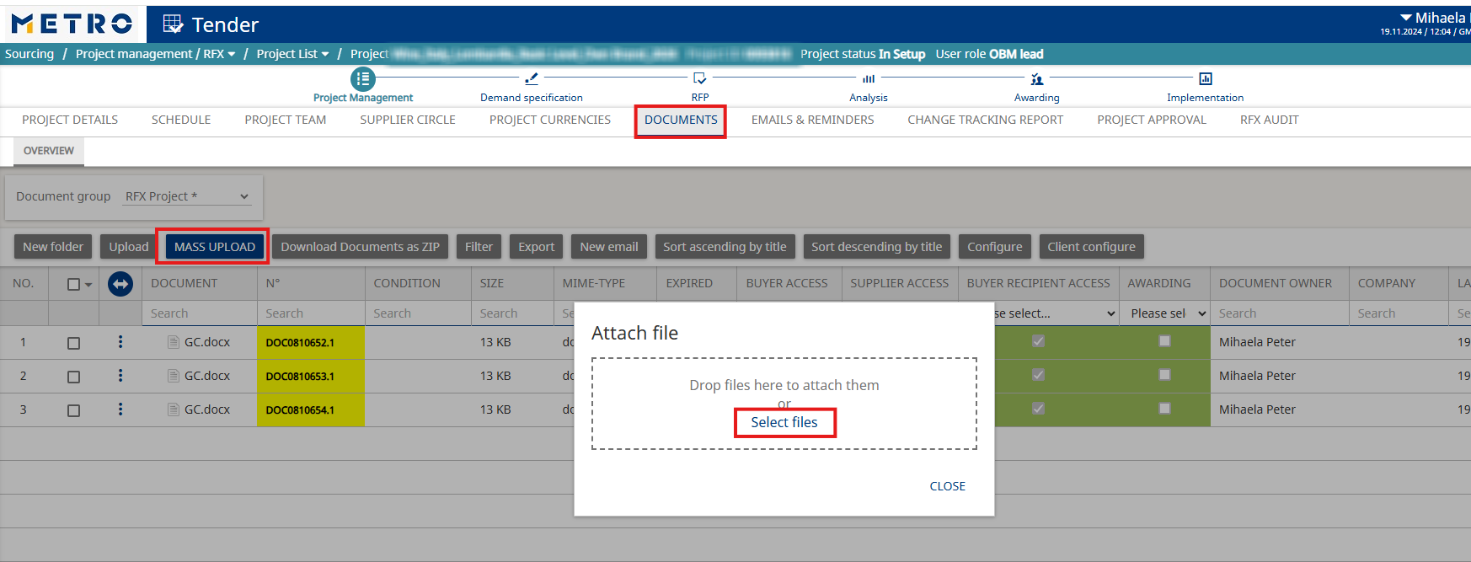
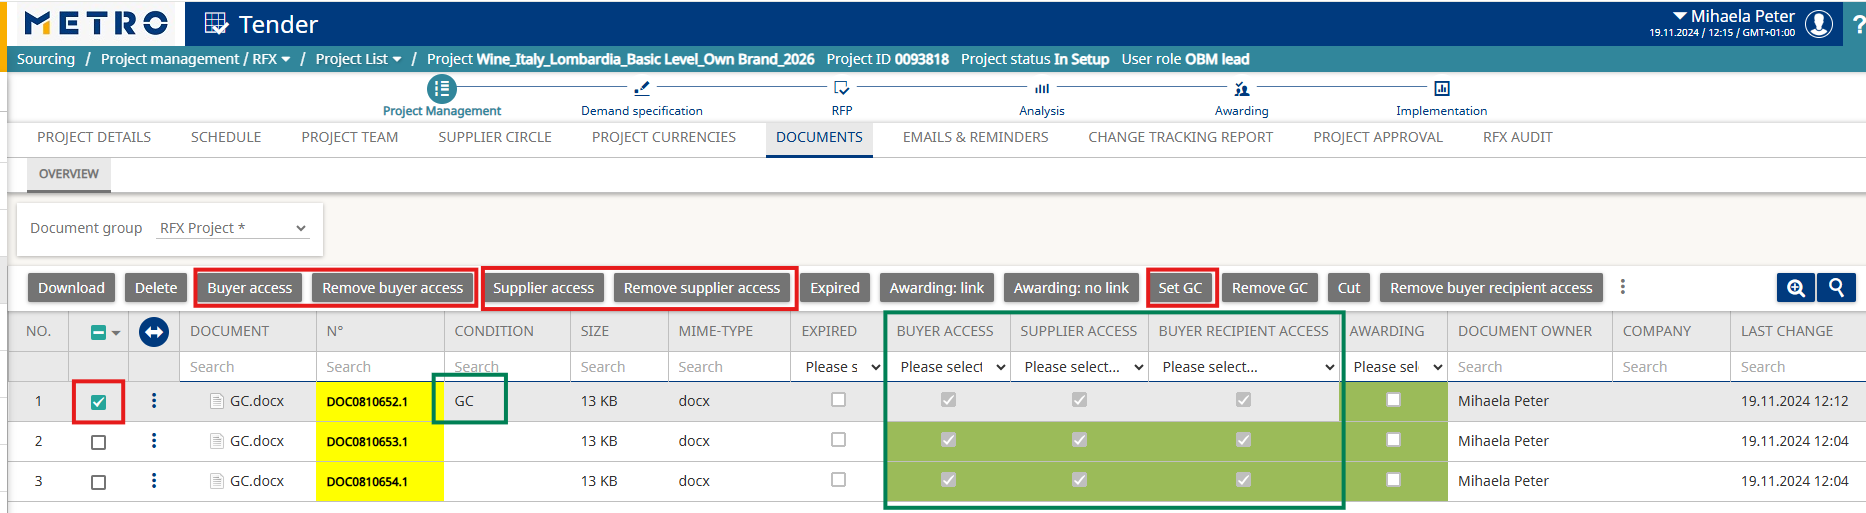
- Set access permissions for buyers and suppliers as needed.
- Before publishing the RFP, at least one document must be set as General Conditions (GC).
- To do this, select the document and click Set GC.
Important Notes:
- Documents must not be marked as Restricted before upload.
- GC documents cannot be replaced once the RFP grid is published.
- After the project is no longer In Setup, you can upload additional documents and adjust access, but you cannot delete documents.
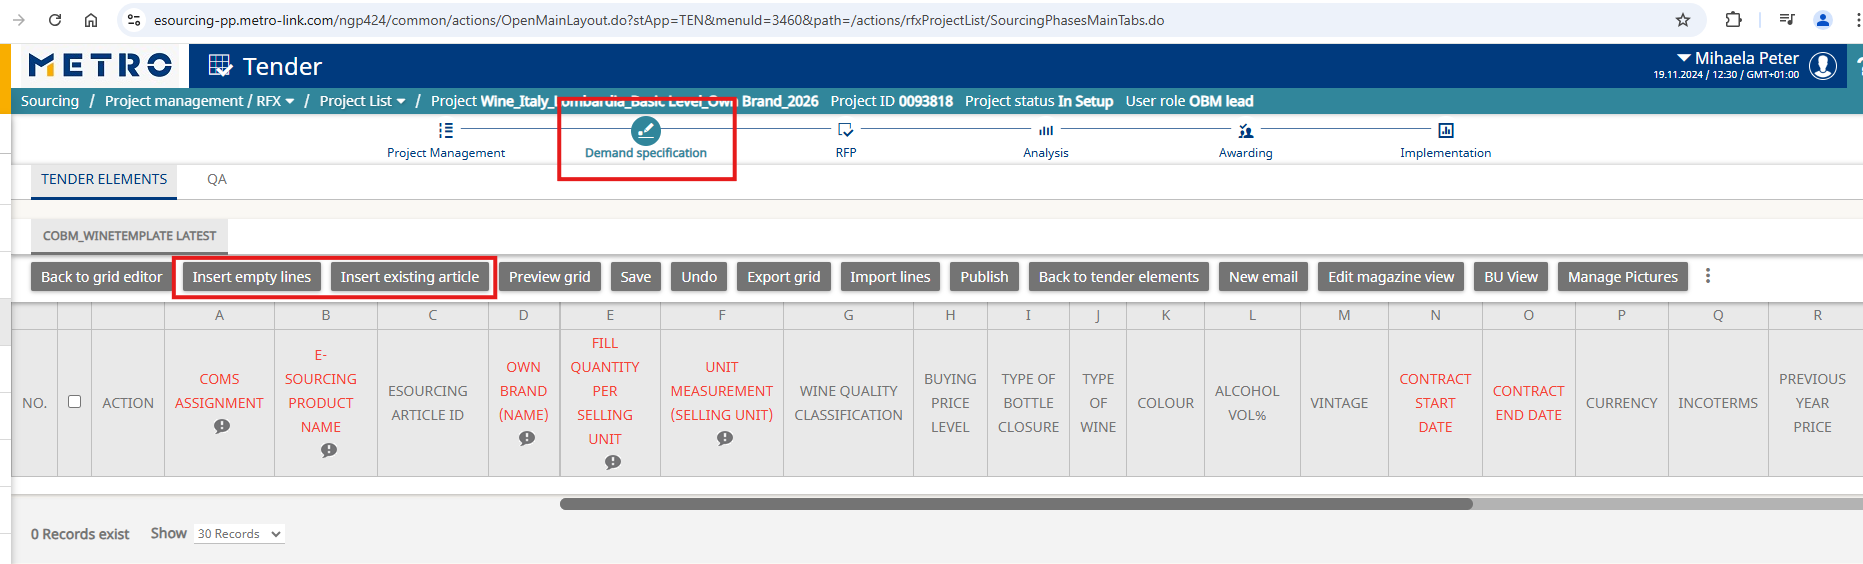
5. Define the Articles in Demand Specification
- Insert Existing Article (for renegotiating existing items), or
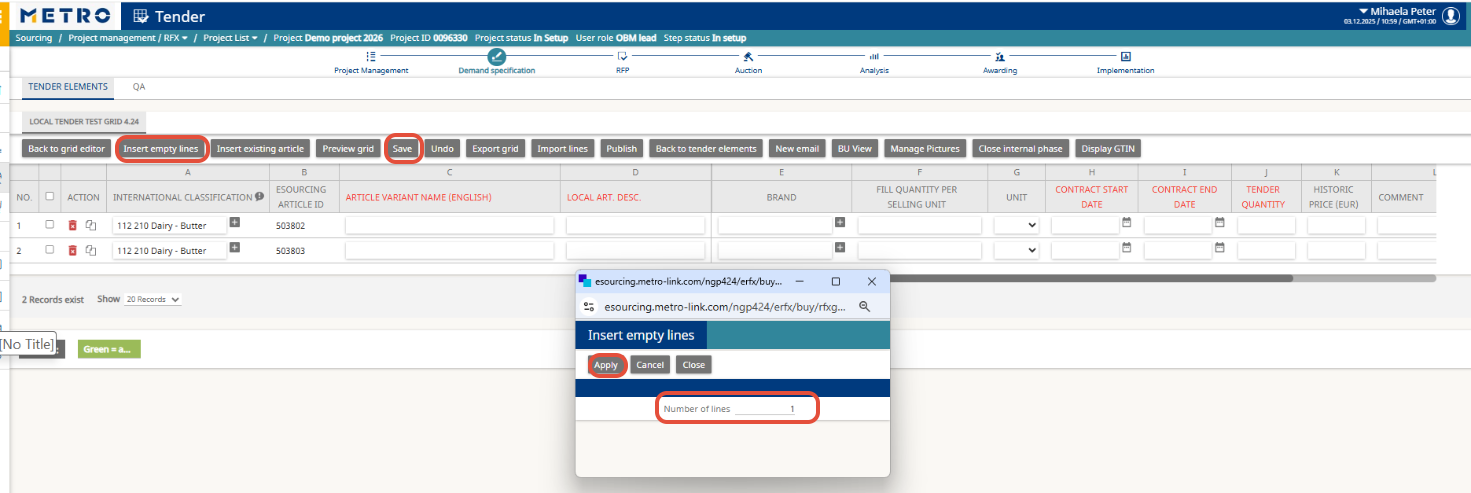
- Insert Empty Lines (for creating new articles).
- select the number of lines and click Apply.
- Fill in article details and click Save.
(Columns marked in red are mandatory.)
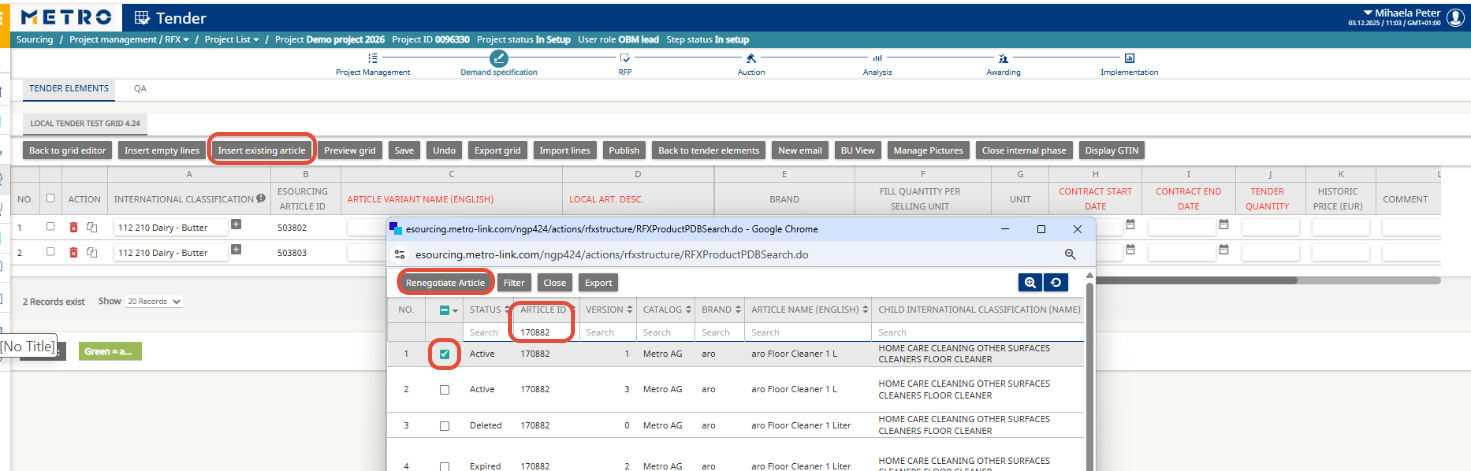
If you choose “Insert Existing Articles”:
- Search for the articles you need to renegotiate, select them, and click Renegotiate Article.
- You can also search by the previous Project ID to select multiple articles at once.
Important Conditions for Renegotiation:
- The article status must be Active or Expired.
- The article must not have any version marked as In Development.
- If a version is In Development, it means the article was not yet awarded in a previous project and cannot be renegotiated.
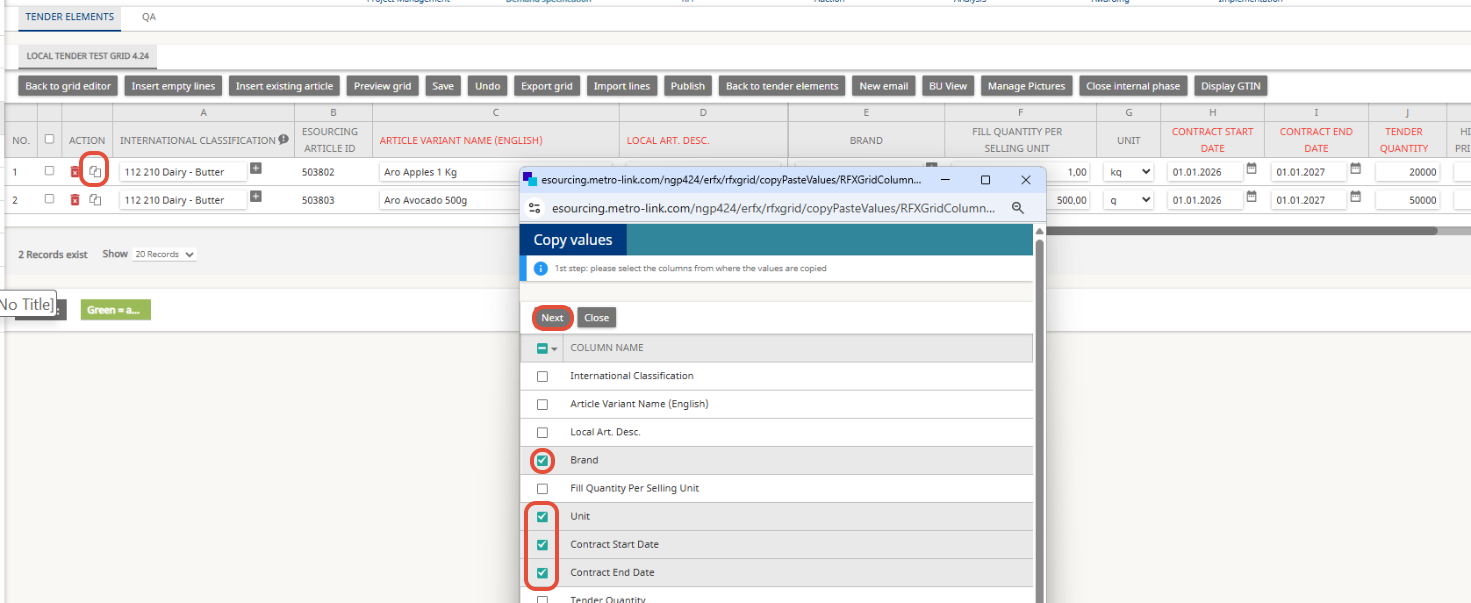
Hints:
- Use Export Grid to fill data in Excel, then Import Lines to upload.
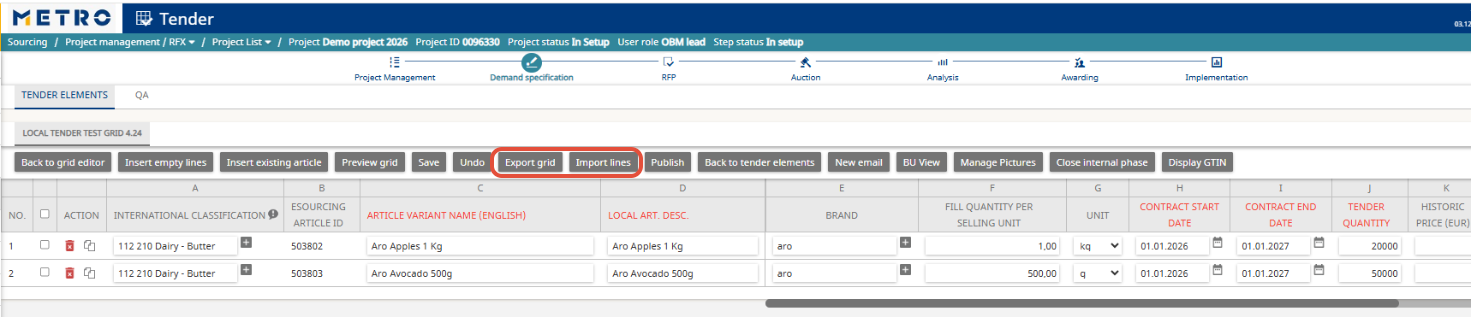
- Use Copy to replicate data across articles (e.g., contract dates, unit measurement).
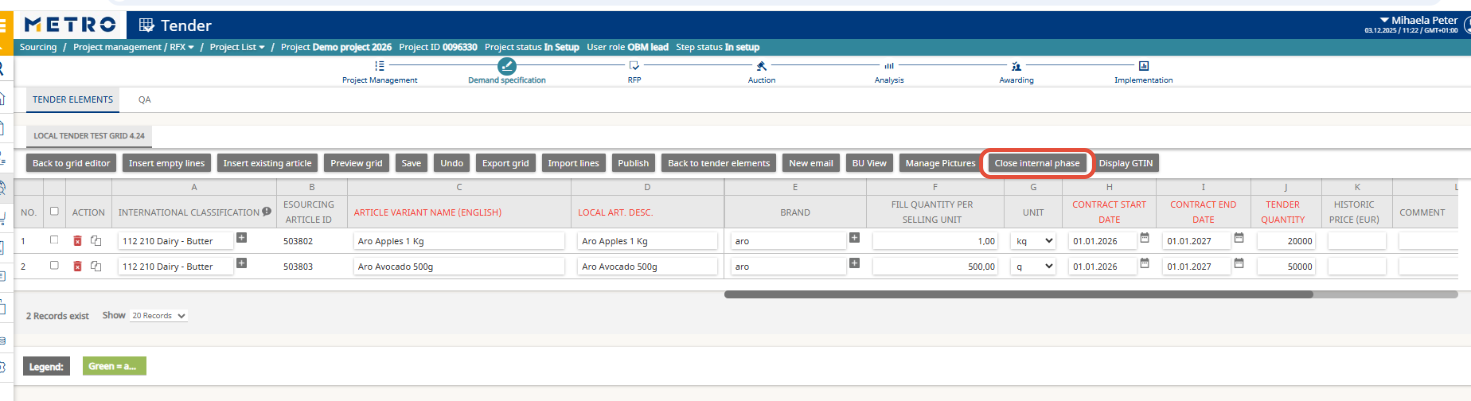
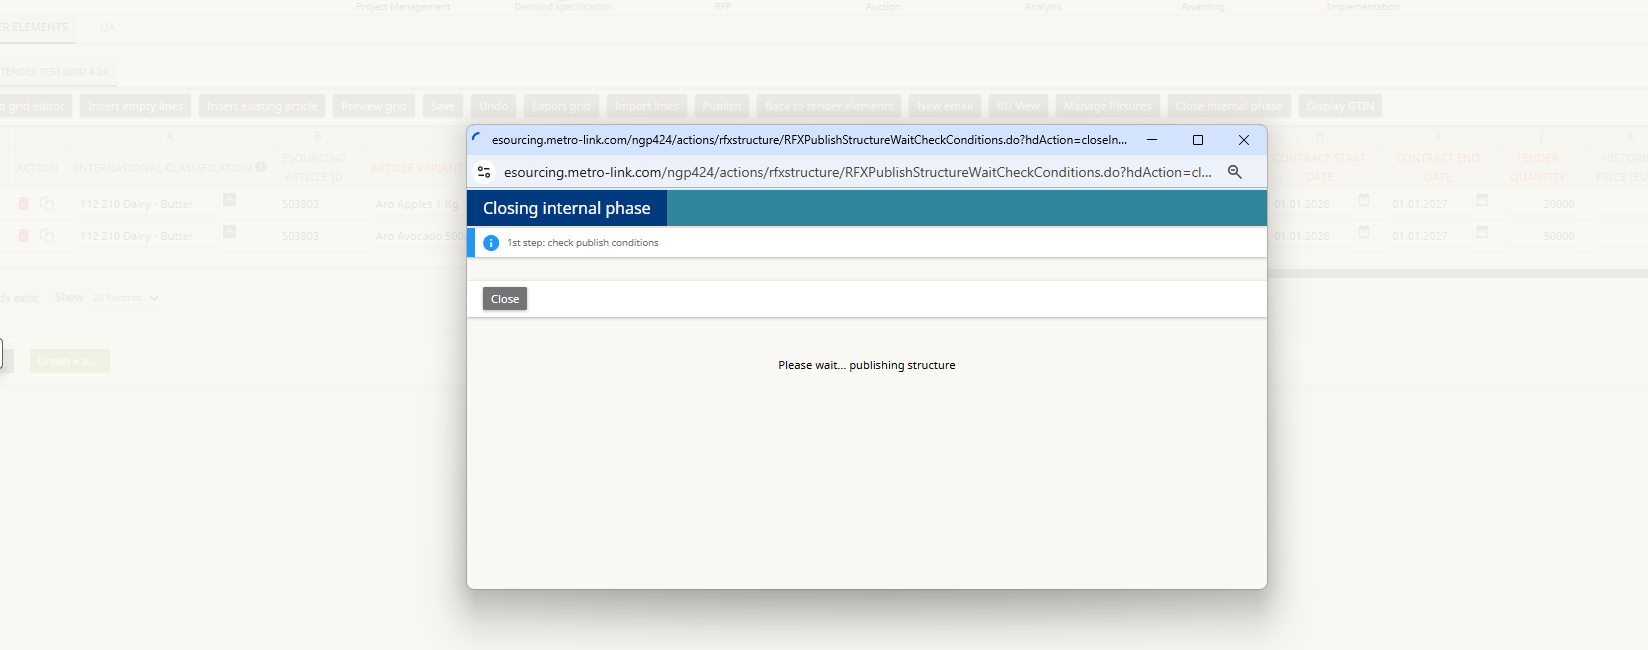
6. Close the Demand Specification Grid
- When all articles are defined, click Close Internal Phase.
- Confirm the warning and wait for the grid to close (may take several minutes).
Important Note:
Next step is optional. If you plan to negotiate only via Auction, you can skip this step 7 (Create the RFP Grid) and proceed directly to auction creation.
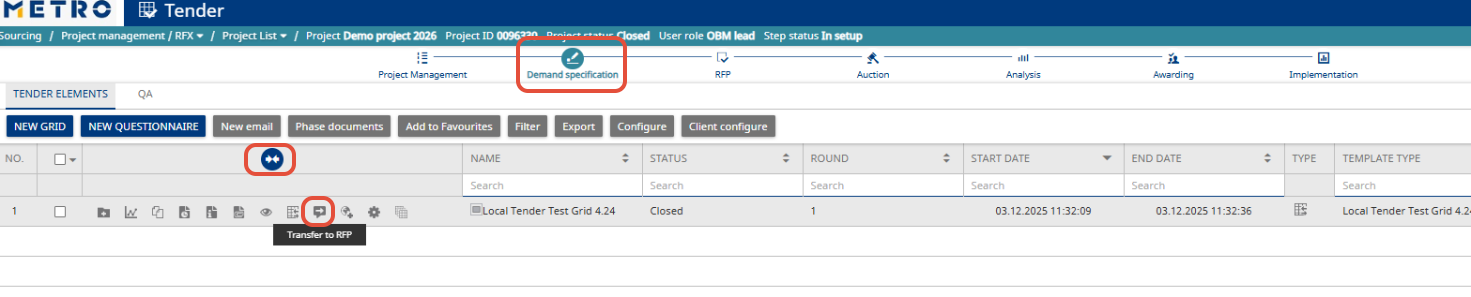
7. Create the RFP Grid (Request for price)
- From the closed Demand Specification grid, click the three dots or double arrow, then select Transfer to RFP.
- The created RFP grid will include the same articles.
Options:
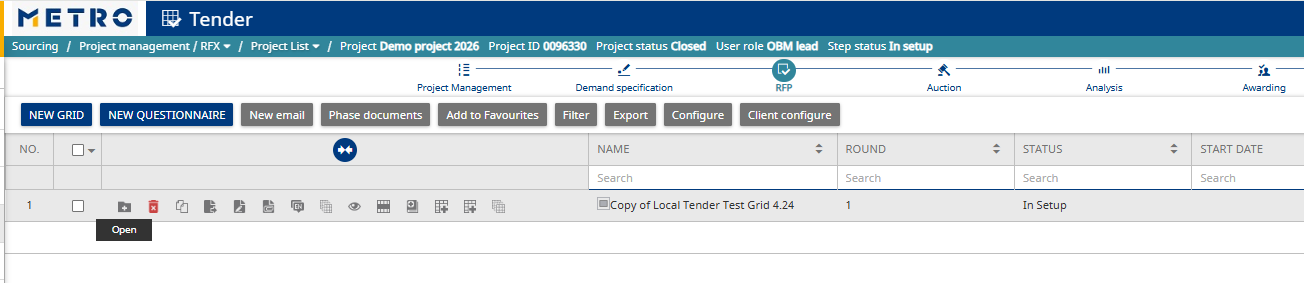
- Edit Line Items: Modify article details.
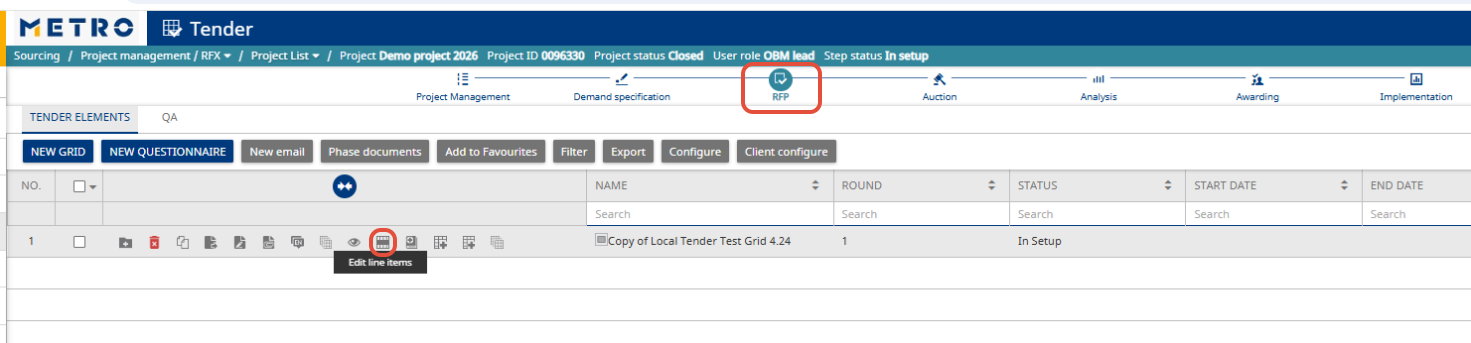
- Previewer: Check supplier view before publishing.
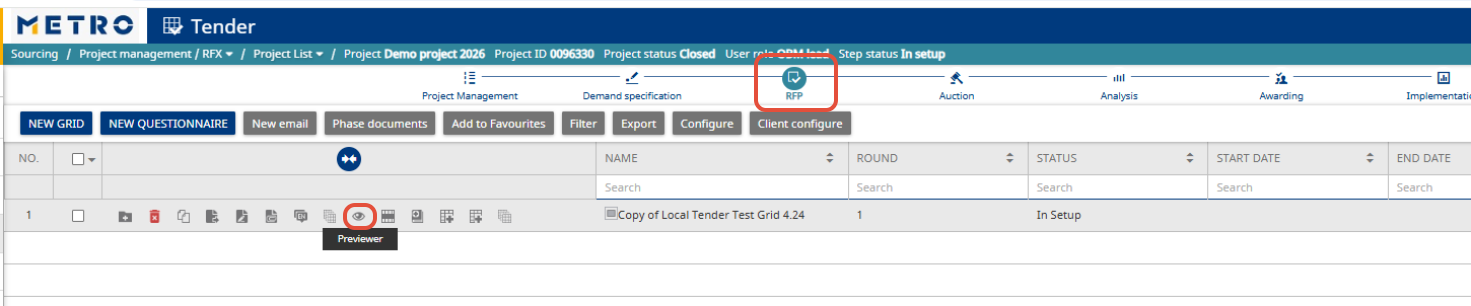

- Open: Edit grid structure, delete or add columns.
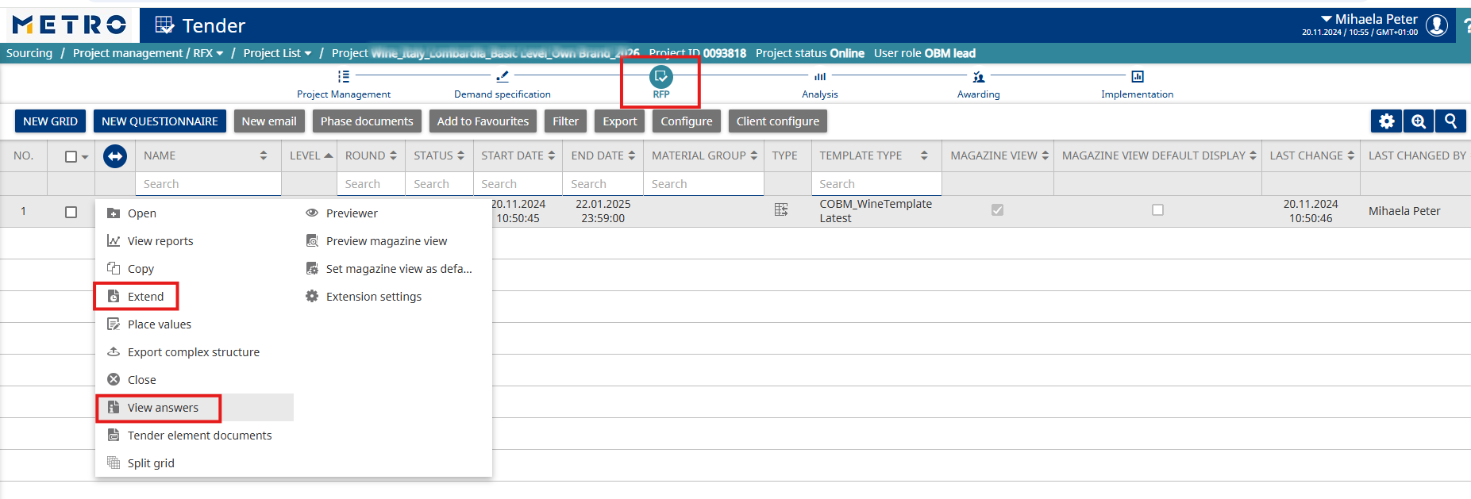
8. Publish the RFP
- When ready, navigate to RFP, click the three dots or double arrow, and select Publish.

- In the popup, click Next, set Start and End dates, and click Apply.
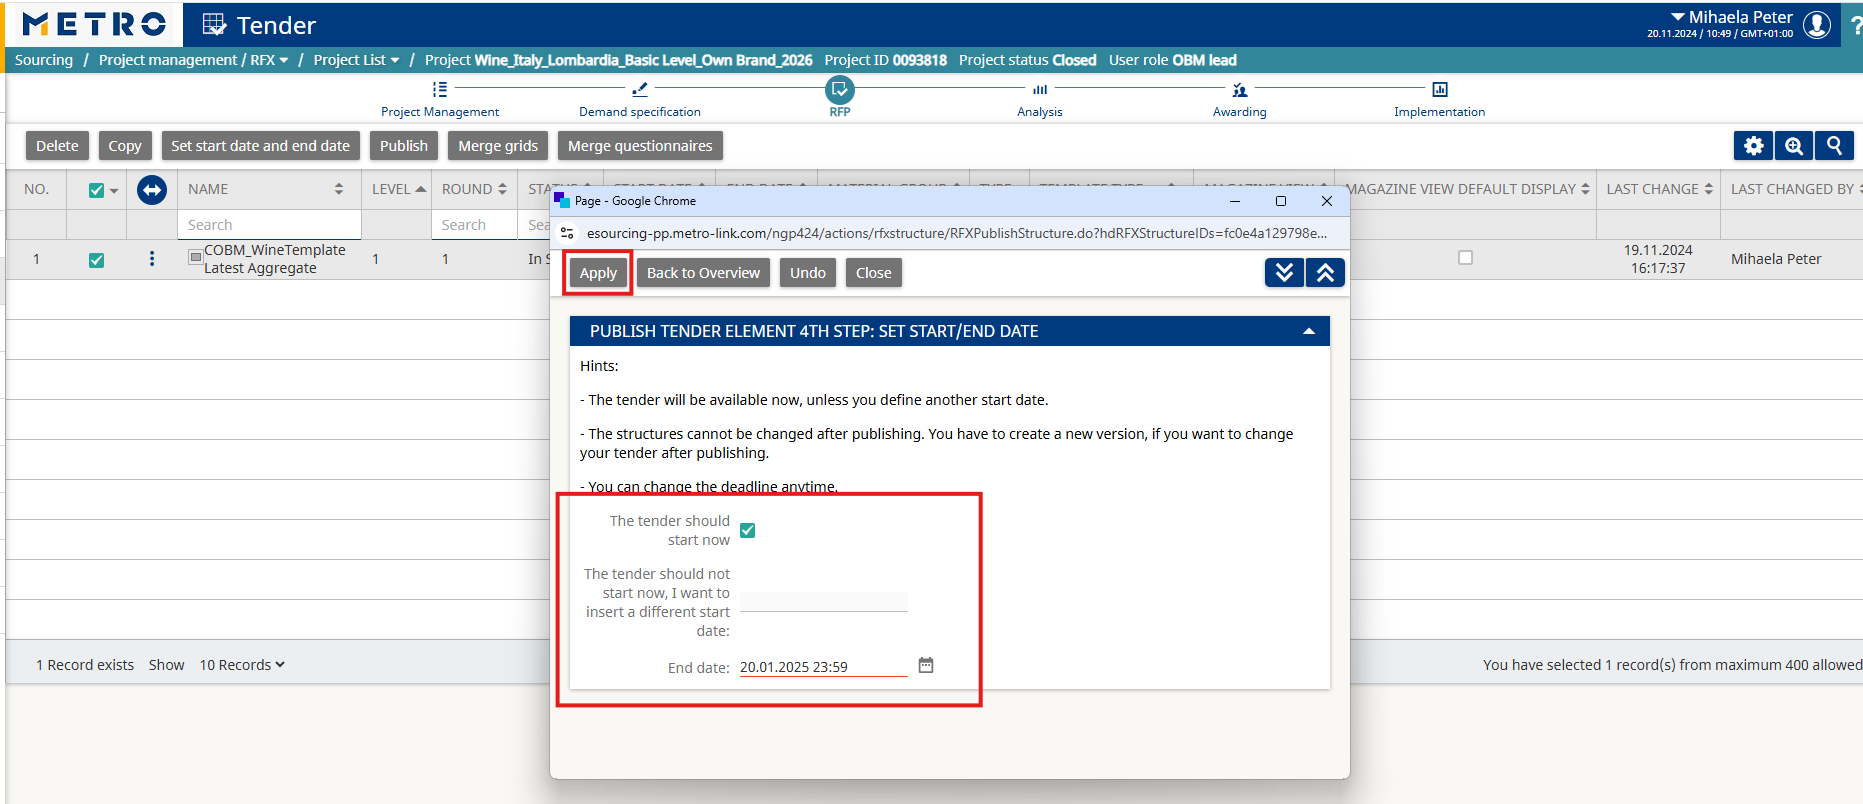
After Publishing:
- Project status changes to Online/Ready.
- Suppliers receive an email notification and can access the project.
➡ See instructions for suppliers.

Additional Actions:
- Use View Answers to check supplier responses.
- Use Extend to change the end date.
- After the end date, the RFP status changes to “In Analysis”, and suppliers will no longer be able to add or edit prices.
You can then:
- Optional: Continue negotiations by creating an Auction from this project
- Award the project and select the winning supplier